A variety of interesting on-line tutorials have been tickling my creative self lately--I keep pinning holiday crafts on my
Pinterest board and going to Michael's to the point where I just couldn't stand it. So, despite the fact that we have a full supply of perfectly acceptable Christmas tree ornaments already (that I would never part with, of course), I told my daughter last week: "let's make all new ornaments for the tree this year! And let's have a color theme! And let's do it tomorrow!" She instantly saw the brilliance of my suggestion and so the next day we shopped at Target and Michael's and got our supplies. We decided on a cool silvery blue and aqua color theme.

First the lights. New LED lights from Target were strung on the tree. We chose "cool white", and they really do have a an icy blue-white color. Just right for our theme.
Four strings was enough to do the trick. Actually, just the lights were very pretty on the tree all by themselves. But we were pretty psyched about the ornaments so the next day we eagerly set up our decoration station on the kitchen table.
Here's our set-up: several boxes of clear ornaments in several diffeent sizes, floor wax (!), glitter (both coarse and fine) and some odds and ends to include inside the ornaments. [Note the newspaper on the table--the first step that I always insist upon.] You might also notice a couple of plastic cups from the recycle bin. Not pictured are some gloves and mini funnels made out of taped 3" x 5" index cards.
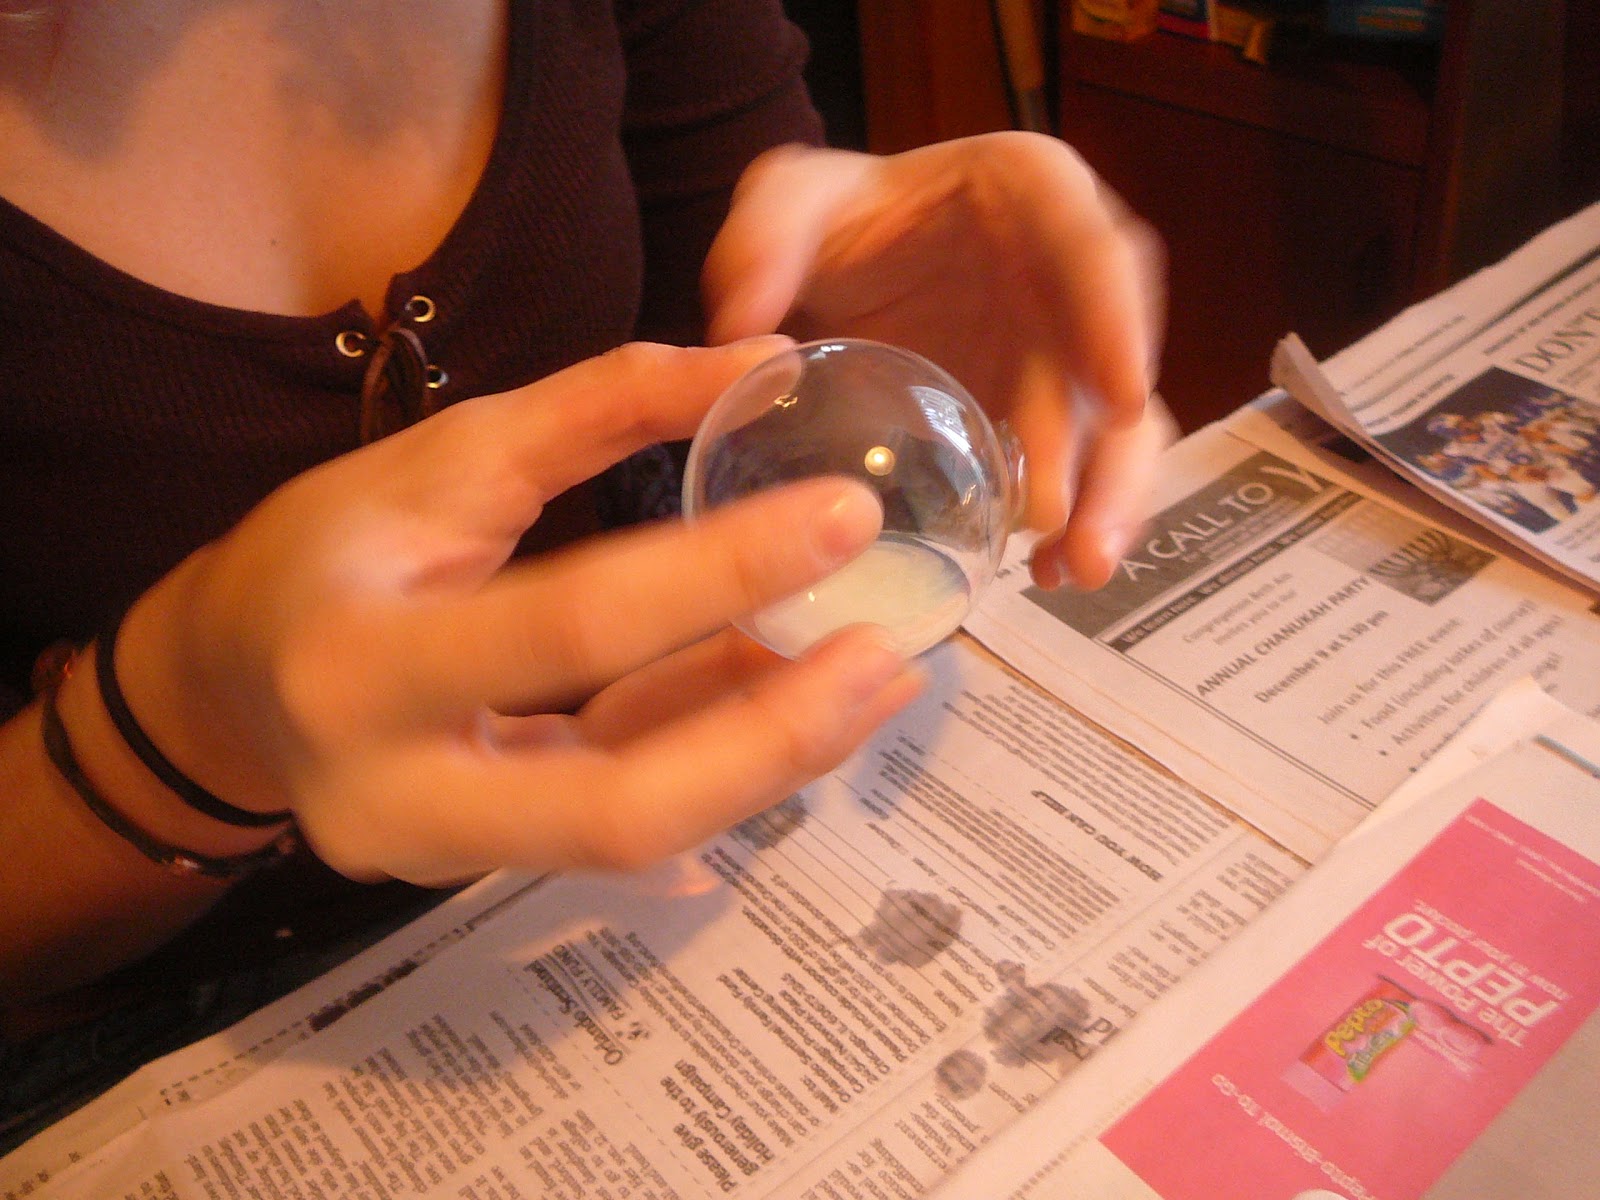
First step: remove the tops of the ornaments and set aside. Squirt some floor wax into an ornament. Swirl it around evenly coating all of the interior. Try not to create any bubbles. Pour the excess wax into one of the plastic cups and save for the next ornament.
Add a bunch of glitter and shake the ornament vigorously. The glitter will adhere and get stuck to the floor wax, which, of course, dries clear.
Here's the finished product! Nice, huh?
Here's a whole batch. Some have multiple glitters in different textures and different colors. We tried to cover all combinations at least once.
We let the floor wax dry for a good 20 minutes or more before replacing the tops of the ornaments.
We also made some ornaments with larger inclusions. No adhesive necessary for these. Here are some clipped leaves from a sparkly garland that was on sale.
Loose glitter and larger cutouts are featured in this ornament.
And here's a whole tray of the inclusions ornaments.
Stay tuned for more and to see the final decorated tree!
 First the lights. New LED lights from Target were strung on the tree. We chose "cool white", and they really do have a an icy blue-white color. Just right for our theme.


No comments:
Post a Comment