So I'm finally mapping out my Humpty Dumpty piece that I originally conceptualized way back in 2009. And, yes, I frequently do take that long to mull over a particular piece. Sometimes it just takes that long to come together. And I've learned that there's no sense in trying to rush the process. Best to work on other things until the larger piece coalesces.
Anyway, I always start out with a little thumbnail sketch or two to kind of work the major layout issues out. That, along with any notes and ideas I wish to record gets entered into my sketchbook. But once I'm past that stage and its time to actually get a full scale mock up complete with templates etc., its all about
tracing paper. I absolutely could not survive without gobs of the stuff.
Top Flight Tracing Paper Tablet, Transparent, Erasable Surface, White, 9 x 12 Inches, 40 Sheets (65301)
I get everything traced out, cut it apart and then tape it down and shift and tweak until the composition is perfect. Tracing paper is very easy to draw on and erases well without falling apart. I have several pads in various dimensions and a big roll of it too. Love. the. stuff.
Here you can just make out Humpty on his wall. Woods beyond the wall, and a garden on this side of the wall as well as a path looping out from the wrought iron gate next to Humpty. A big blue sky above and lots of puffy clouds completes the piece. The image dimension will be about 20 X 36". At least thats the plan right now. Always room for alterations if something doesn't look quite right. Collages are forgiving that way. :)
Here's Humpty's body. I drew out the egg separately and then traced each limb on a separate piece of tracing paper until they were all just right and then I had fun attaching his limbs appropriately. I wanted him to look rotund (of course) and very precariously wobbly. This is that sick moment that he knows he's going to fall but hasn't quite yet but knows its inevitable.
I wasn't sure about facial expressions so I tried a couple of different ones out, also on a separate piece of tracing paper. Here's shocked and disbelieving. His mouth is just kind of hanging open.
And here's horror/fear. Mouth is in full scream mode.
I may have to sketch out a couple more. I'm still not quite sure which one I like the best. Right now I'm leaning a little towards the first one (above).
I dunno. Have to sleep on it. I could also do the old mirror trick: when you're having trouble with a composition, look at it in a mirror; flaws and issues just jump out at you (and are thus fixable). I can't wait to get this all pinned down and start choosing fabrics. That's one of my favorite parts!
Here are a couple of commercial links as usual. Tracing paper, of course and my all-time favorite version of Mother Goose. The illustrations are charming and intricate--beautiful (something I always look for in a children's book that I am likely to read out of repeatedly).


 Happy Mother's Day to all you moms out there! I got to spend a lot of fun time doing stuff I love today, thanks to my awesome kids. I started out the day working on the wall. Here is where I started this morning.....

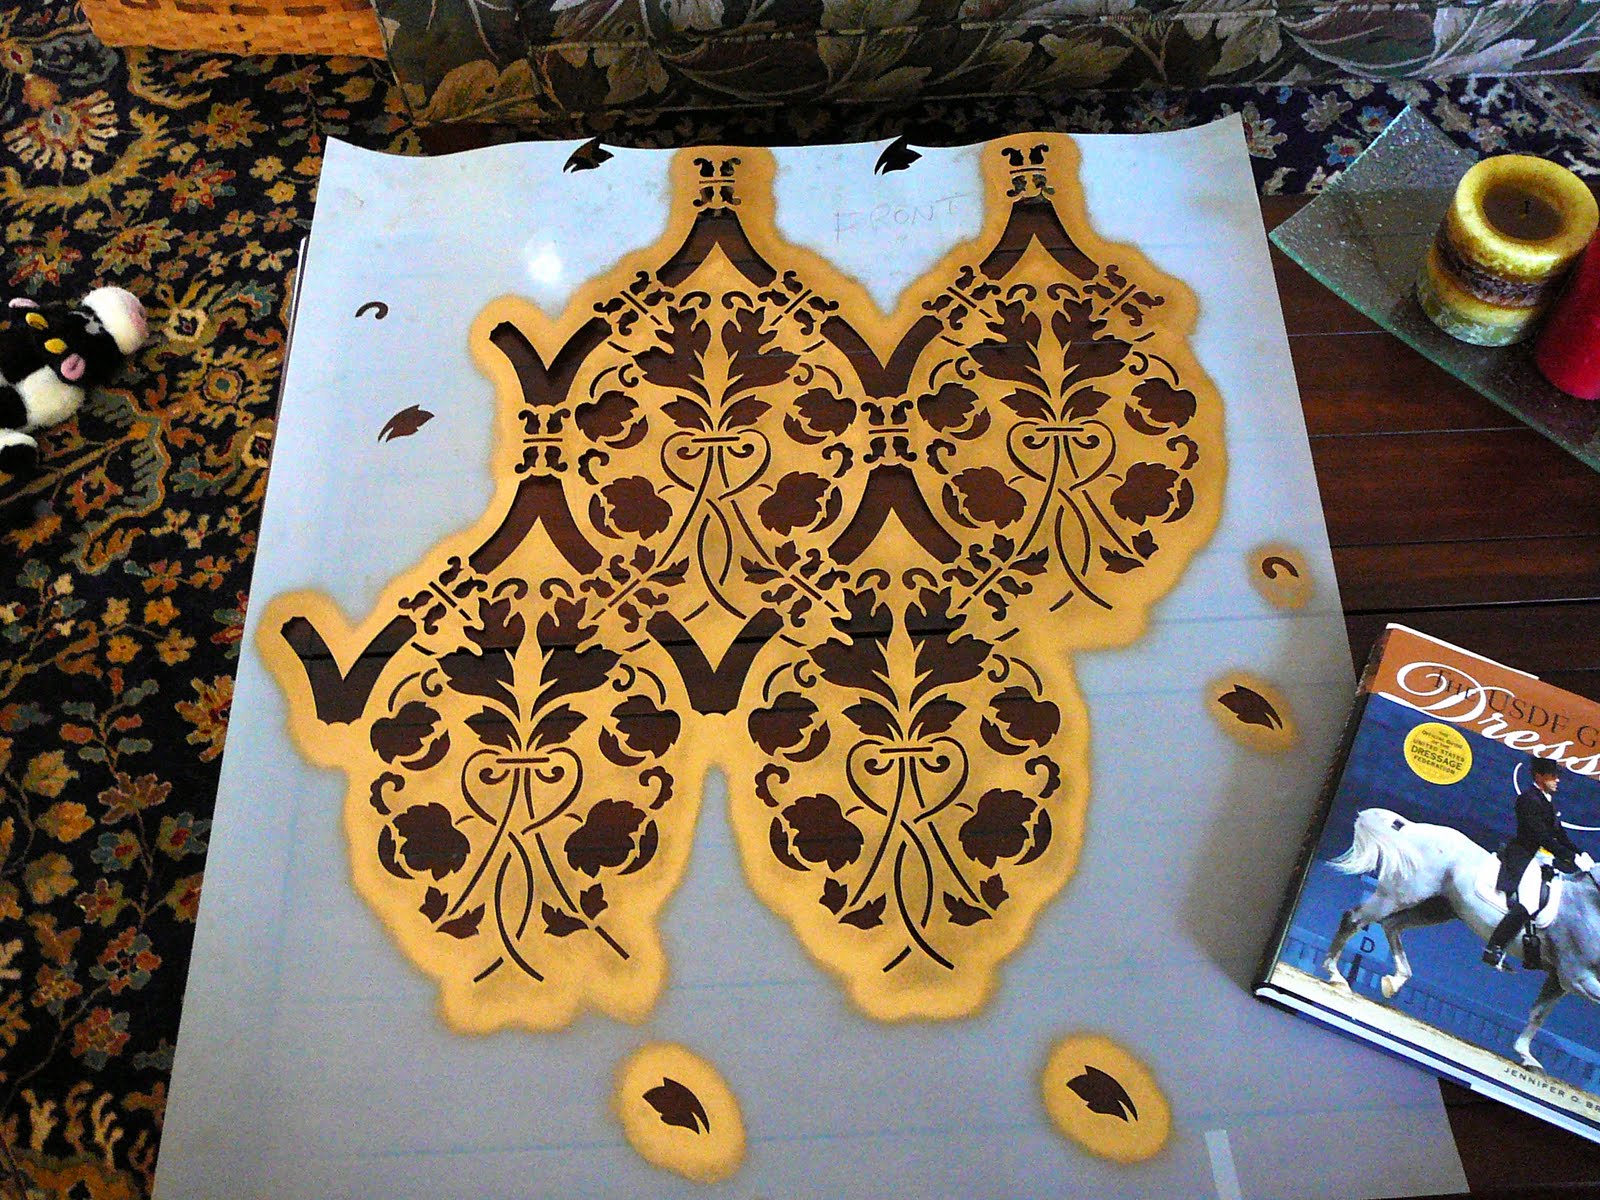
 Here's the first couple of repeats. (well, one and a half, actually.) I have plenty more to go, obviously. But I already love it. I am using a gold Shiva Paintstik Shiva Iridescent Professional Grade Paint Sticks set of 12


