Its been a busy weekend and I made a fair amount of progress on several fun projects. So here are some interim updates on three different works I've got going. {Don't ask me why I have so many projects going, sometimes it just happens that way. Just a little crazy sometimes, I guess.} And I'm not even going to mention the 3 different kinds of Christmas cookie dough that I have chilling in the fridge. gack! Never mind--you didn't hear that--
Anyway, On my large underwater piece, I sewed down some bias tape stems for some seaweed as you can see here. I personally love Clover iron on bias tape. Its so nice and curveable. You still have to tack it down, of course, or it will pop off after some handling. The only downside to this wonderful stuff is that its difficult to come by in colors. Usually you only find it in black (folks use it for making "stained glass" quilts). Every once in a blue moon I stumble upon it in other colors and when I do, I snap it up. So I went to my stash and found some mottled light brown tape--perfect. Also a little gold for just a short stretch.
After that was done, I spent some nice, contemplative time laying out the leaflets of the seaweed--quite a few tan ones, some yellow and a few gold ones cut into 6 different sizes. I want it to look like some of them are catching the light underwater and flashing it back at you.
Obviously, I have a lot of leaves to sew down now. I'll be doing some raw edge applique to accomplish that. Since I fused all the leaf fabric to some Pelon Shirtailor interfacing, I will have no trouble doing that with a narrow satin stitch. I got a few of them done over the weekend but by no means all. Its fiddly work and I can only concentrate for so long before I start losing my focus and start getting sloppy.
When that happens, I have found that its just no good trying to "power through" or some such. I'll just make more and more mistakes and get supremely aggravated. Maybe even have to pick out some stitches. Which I hate doing, but I'll force myself if I've made a botch of things. At least in this medium you can do that unlike other media.
So when I exhausted myself on the leaves, I took myself off to the kitchen to design this year's Christmas card. Keeping it simple this year and no textiles, either. Something with some spray paint and an acetate stencil seemed the way to go.

Here's my sketch in the actual card dimensions on the left. I'm seeing lots of glittery gold. I bought some holiday spray glitter at Lowe's last weekend and I'm thinking that it might be just the thing.
And here is the acetate sheet half cut out. I'm not a big fan of working with an Exacto knife, but I worked slow and steady and kept it together and did an ok job of making a nice stiff stencil.
And then, since I've had a several sales from my
etsy site recently, I worked on replacing some of the inventory of my biggest seller: business sized envelopes. So relaxing to trace and cut these out and then so fun to fold them and watch them become an envelope. Its a simple thing but I get a big charge out of it for each and every one.
Yay!
When the weekend was over, I felt so accomplished. Even though I didn't get anything technically completed, I still was deeply satisfied.
And its just as much about the process as it is about the product, isn't it??
 Well, it almost never happens, but this year's original Christmas card was a failure. :( I liked the design and the finished card looked pretty darn good but production of 60 cards was just not to be.
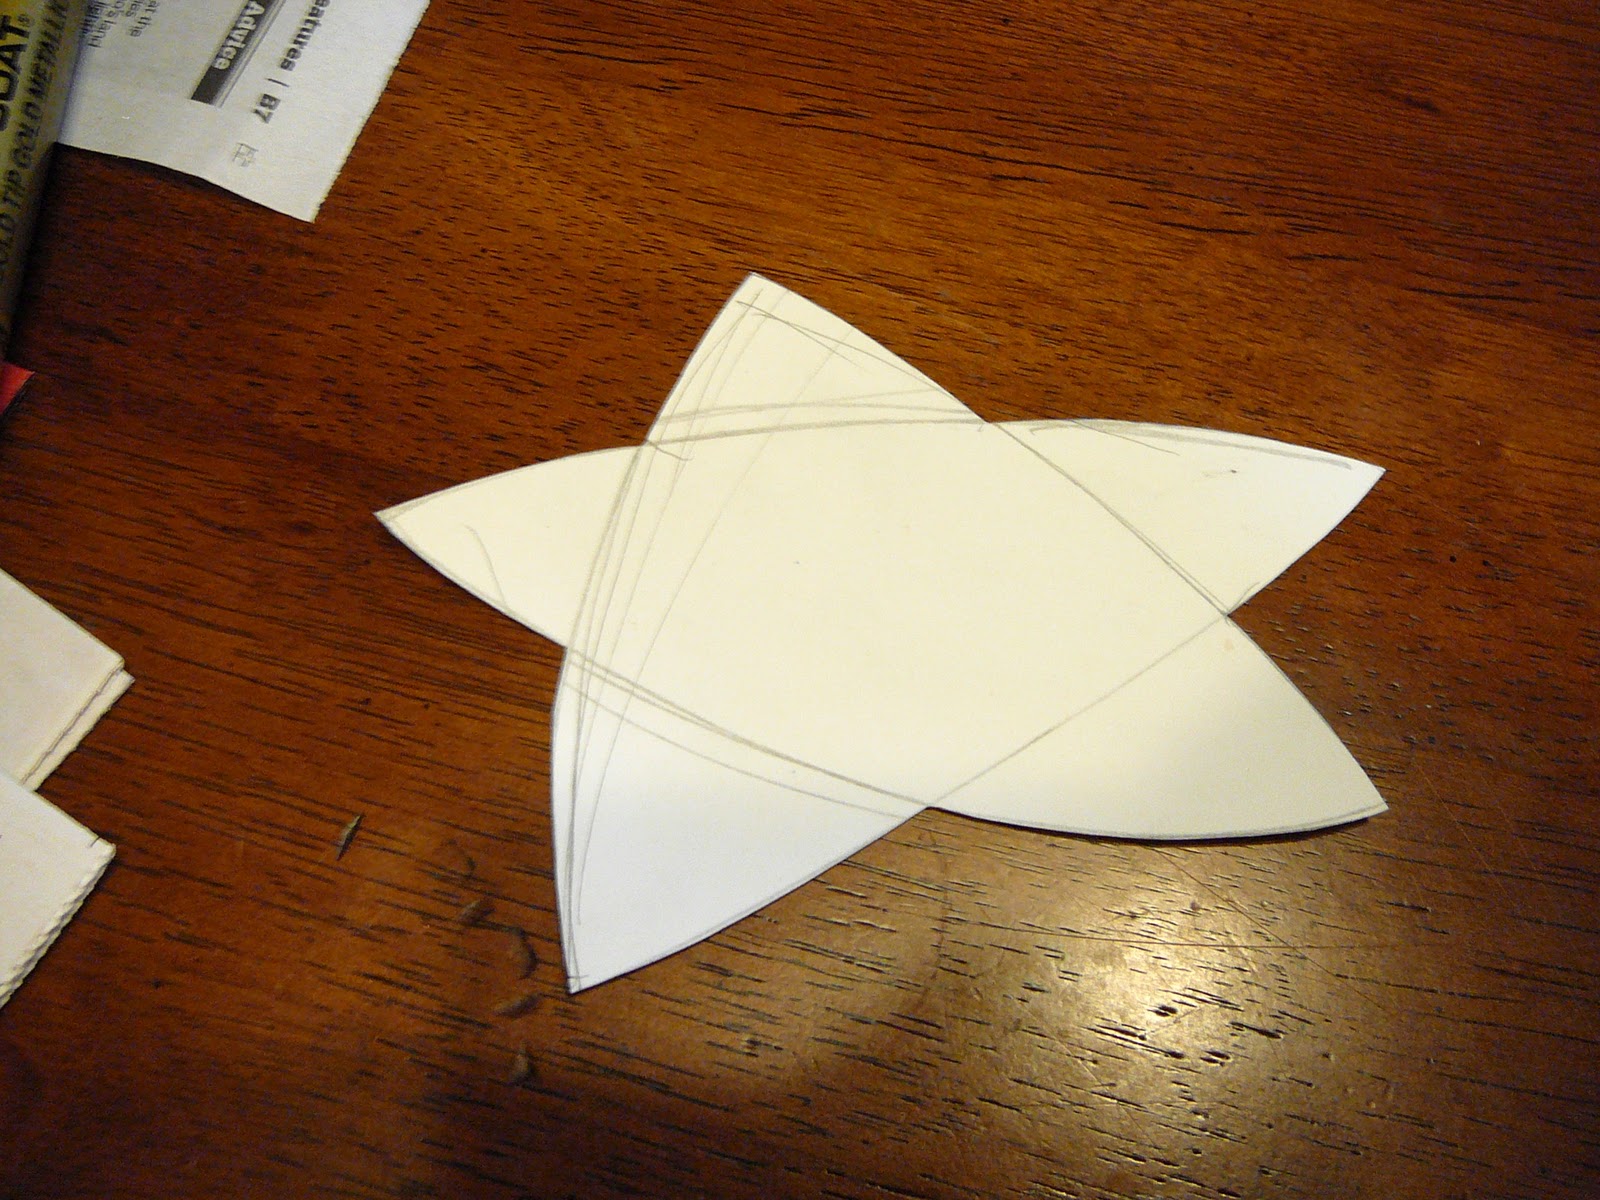 Ok. Well, I already had a stack of pre-sprayed background cards so it had to involve them. I did not wish to go back to the drawing board and spend an excessive amount of time conceptualizing so I (guiltily) rehashed a designed from a few years ago with a textured paper star. An added plus: I still had some of that textured paper and was happy to use it up.


 --read up and go to it! Don't be afraid to try new techniques. And don't be afraid to paint right over them if they don't work. (For that reason, I stay away from textured treatments; much harder to cover up a mistake.)


 --it was very easy to work with and gave great results. Love, love, love, the metallic gold especially.