Sunday, August 12, 2012

Another felted sweater fabric craft

Well, you know I've been working with felted sweaters, right? I really like the stuff--it has so many possibilities. I've made bunches of flowers (check my etsy store, btw, I just added some in the jewelry section.) And I have plenty of flower bits still waiting to be used, either as flowers or something else.

But I have all of these sweaters to use (thanks, Carolla, for hitting up those Chicago thrift stores for me!) and so I put my thinking cap on and cogitated about current pop culture. Just about everybody in my circle has an e-reader these days, whether its a nook or kindle or kobe. And everyone who has an e-reader has a case for that e-reader.  Its a necessity, really, to protect your investment. Most of my friends, when informally polled, were not excited with their case (too plain, but too expensive to ditch.) So, I decided to construct an e-reader case.

yeah, you saw that coming, huh? :)

Anyway... I reasoned that I would make more than one of these so I decided to make a template. I've decided on a simple envelope shape.


Here is my cut felted sweater piece. I've carefully centered the cable pattern, of course.


I've folded my envelope shape and it looks pretty good. I did some experimenting with sewing techniques on some sweater scraps and quickly realized that my sewing machine was not going to work.
So, hand sewing was the preferred method of construction along with a little fold at the lower corner to contribute to the depth (sorry, you can't really see it).
Love how the pattern shows on the back.
I had a toggle that I had removed and saved (of course!) from one of my felted sweaters before washing it and I used that as my closure mechanism. I had to hand sew that sucker on too, which took a little while, but I'm pleased how this one turned out.


I'd put my Kindle in that!

Thursday, August 02, 2012

Pig tail thing-a-ma-bobs

 Hi all!

As promised: a bunch of new pics--this time of ornamented pig tail elastics for the little girls among us.


Some pink wool felted flowers.


And some blue wool felted flowers.


 Here are a couple of covered buttons that I put together employing the hand embroidered portions of a vintage tablecloth. It was stained and unuseable but the embroidery was just to nice to toss so I have been saving it for years. Finally, I have use for all of that fine needlework!


And here is a close-up of these pretty little violets. Such lovely embroidery. So sweet for a little girl, I think.


Here are some covered buttons with a more modern take. This is not vintage fabric, but the whole princessy thing was just to hard to resist.

If my daughter were still 3, I would most certainly be using these on her!


Here's another pair, this time from vintage bed linens. Two little hedgehogs; a boy and a girl.

This cover was my favorite as small child. I would stare at these little hedgehog people and the other critters for hours. Or it seemed so to me, anyway. Brings back the warm and fuzzies for me! :)

Thursday, July 26, 2012

More felted flowers

Of course I didn't make just one flower! Here are some more pins.


 Note that I placed buttons in the center of these--and they ain't your run-of-the-mill buttons, neither. All of these buttons have been covered in vintage fabric from my extensive and exhaustive stash of fabric.


An icy cool pink and blue colorway...

And two in a flamin' hot explosion!


Tomorrow...hair thing-a-ma-bobs for young and old. Can ya hardly wait??


Wednesday, July 25, 2012

Felted sweater flowers

So.... what did I make with that glorious felted sweater flower bit stash that I created??

Well you might ask, my friends! I made a bunch of flowers, of course. And then made them into various items. Here's the low down on one of these babies!

 Here's a finished flower using the Kool-Aid dyed petals (the very bottom whorl), the natural shade of heathered blue of the sweater (next whorl up) and then 2 whorls of yellow and then gold for the sexual parts (the stamens and the carpels). [OK, now you're saying: huh? and I have to admit that my grown-up job is teaching biology and botany at the university level. So the terminology just happens. Sorry. Can't help it]

Here's the flower from the back. You can see that I have sewn a pin on the back. Thus, this flower is a pin/broach. A big, exuberant flower pin.

 And a little bit of a close up so you can see the details. While it isn't 100% botanically accurate, I think it still has the flavor of a real flower center.


I have this ongoing goal of stepping up and developing my brand. That includes developing my logo, which you saw a few posts ago. Currently, I'm integrating that logo into business cards, invoices and product packaging in an effort to really look professional and add perceived value to my items.

So here you see the card stock mount that the pin is mounted on.

I'm really pleased with how it looks. And when you see a whole group of these together, it really looks great.

I made some other stuff, too! More flower items as well as some related items using different materials. So stay tuned!
I

Monday, July 16, 2012

Kool-Aid Fun

 I know its been a long while--sorry, my friends!

Its been a busy time lately and I have actually been working on a lot of crafts. One of the things that I have been doing is working on a lot of felted sweater bits.  In have finally amassed a good stash of sweaters to use but the color palette left a lot to be desired. So I decided that I would just make my own colors by dyeing what I needed with....Kool-Aid. Lots of advantages with the stuff--no nasty chemicals involved so I can use my cooking pots. Its readily available (well, more or less).  Its already pre-measured. And its cheap!


 So check out this gorgeous peacock blue in my first pic. Isn't it lovely? And here's my pile of already cut up and felted wool bits ready to go. Some is already blue, but its a rather dull blue so I wanted to see if I could beef it up a little with some Ice Blue Raspberry Lemonade flavor Kool-Aid. OK, yeah, yeah, basically, its blue. That's all you need to know.
 Here is a close-up of my "before" wool.  As you can see I have blue, pink and some off-white.
At this point I have boiled the Kool-Aid and wool for about 5 minutes and then let it sit for about an hour. Note how the water is now clear again--all of the dye has been taken up by the wool. Cool, huh? The citric acid in the Kool-Aid acts as the mordant so the dye is permanent.
After drying in a hot dryer (which further promotes the felting) I have a beautiful pile of various shades of blue felt bits. Much more to my liking!


Now I just have about 9 more different colors to try!

Wednesday, May 16, 2012

Creativity from the UK!

 Hello all--
I'm getting back in the swing of things after my move and have a little backlog of posts for you! So check back, I think I may surprise you with some of the stuff that I have planned!

So about a month ago I received a lovely email from a volunteer helper at the Hexham East First School in Northumberland. He explained that the class 1 (5-6 year olds) and class 2 (6-7 year olds) students had created some art works using some inspiration art. And, it seems, that that inspiration art was some of mine that they had found on the internet at my main art website! What an honor! I sent them a supportive letter (and would have sent them some fabric or some such but the time was short until their Art Focus Day.

Here are the main pieces of mine that they viewed:

Studies in Orange and Blue: Triptych
8” x 10.75 “ (each)
July, 2005
Private collection of Charles and Jackie Hicks


Fabric of Space-Time: #1
16" x 13.5" 
November, 2007
Currently on display at the University of Central Florida


The Transit of Venus31” x 47”
July, 2004
Private collection of Susan Riley
And here are the wonderful pieces of textile art that they created for Art Focus Day:


Didn't they do a great job? I was very impressed. I so wished I could have attended the Art Focus Day and seen all of these lovely pieces of art in person and met all of the children.
Thank you, Mr. Messer (volunteer helper) for contacting me and Ms. Noon (teacher) for sending the pictures for me to share.

And, of course, the very biggest of thanks to the very talented artists who created these amazing artworks!

Thursday, April 26, 2012

Boring announcements

Hello friends. I'm still recovering from moving and so I have no new creations to blog about. :(

I'm almost done unpacking, though, and I have a bunch of great ideas I'm just dieing to implement so stay tuned. It will be soon, I promise.

In the meantime, I am deactivating the comment option on my posts. I've been getting daily weirdo spam comments that are hijacking my site for their own nefarious purposes. I'll leave it off for a while and reactivate in a month or so. Sorry for any inconvenience!

Wednesday, March 28, 2012

Cork trivet. and a question

Here's my last catchup craft: another nice cork trivet. I have a goodly supply of corks (some that I have generated, many that came from a supportive restaurant) and I'm always looking for a new craft to use these babies. [You should have seen the castle we built for my daughter's 3rd grade project! sorry, no pix]
Ah well, this trivet is not nearly as exciting as that castle was, but I came across a spare vent clamp and I had sold my other two cork trivets so here was a quick and easy creation.


So I made this little cutie and it was the first thing I uploaded in my slew of items onto my etsy site. That process always takes a little while to write out the product description, tag it etc. Well, I had no sooner finished with this item and started to upload the next item when I got a little ding from my Paypal app indicating a sale. Yes, indeed, my little trivet had sold within the first 15 minutes! Woohoo!

Now here's my next little dilemma: I've been making several trivets out of these natural corks, and I even have a couple of future projects in mind. But what do I make with those artificial corks? I have a bunch of those, too. But they just don't have the same vibe, ya know? So..... something funky and kitschy? But what?

Hmmmmm

Friday, March 23, 2012

Floral Coasters

Moving got started and its just as fun as I remember. not! So no new creating but I remembered I did have a have a little bit of a backlog so I'll just get caught up on that, shall I?

I finished this project up last weekend too, and it was a quickie. I had bought some cork coasters recently on one of my many supply expeditions to Michael's thinking that I'd Mod Podge something to them at some point. So when that old floral art calendar turned up I knew just what to do.

I thought that the circle of art looked a little unfinished when I held it up to the coaster so I got out my trusty gold marker and rimmed a gold edging all the way around on all 4. That served to really finish each individual circle and helped to tie them all together as a set as well. For a brief moment I stressed because the edging was uneven but then I decided I liked that look. It was more organic, much like the subject matter of the art itself.

So now, after this successful Mod Podge project, I'm kind of eyeing all of the furniture in the house and wondering to myself: "Hmmm, wouldn't that look better if it had some art on it?" or "That really is crying out for a butterfly" or even "This could be completely papered in a vintage map". Stay tuned!


Thursday, March 22, 2012

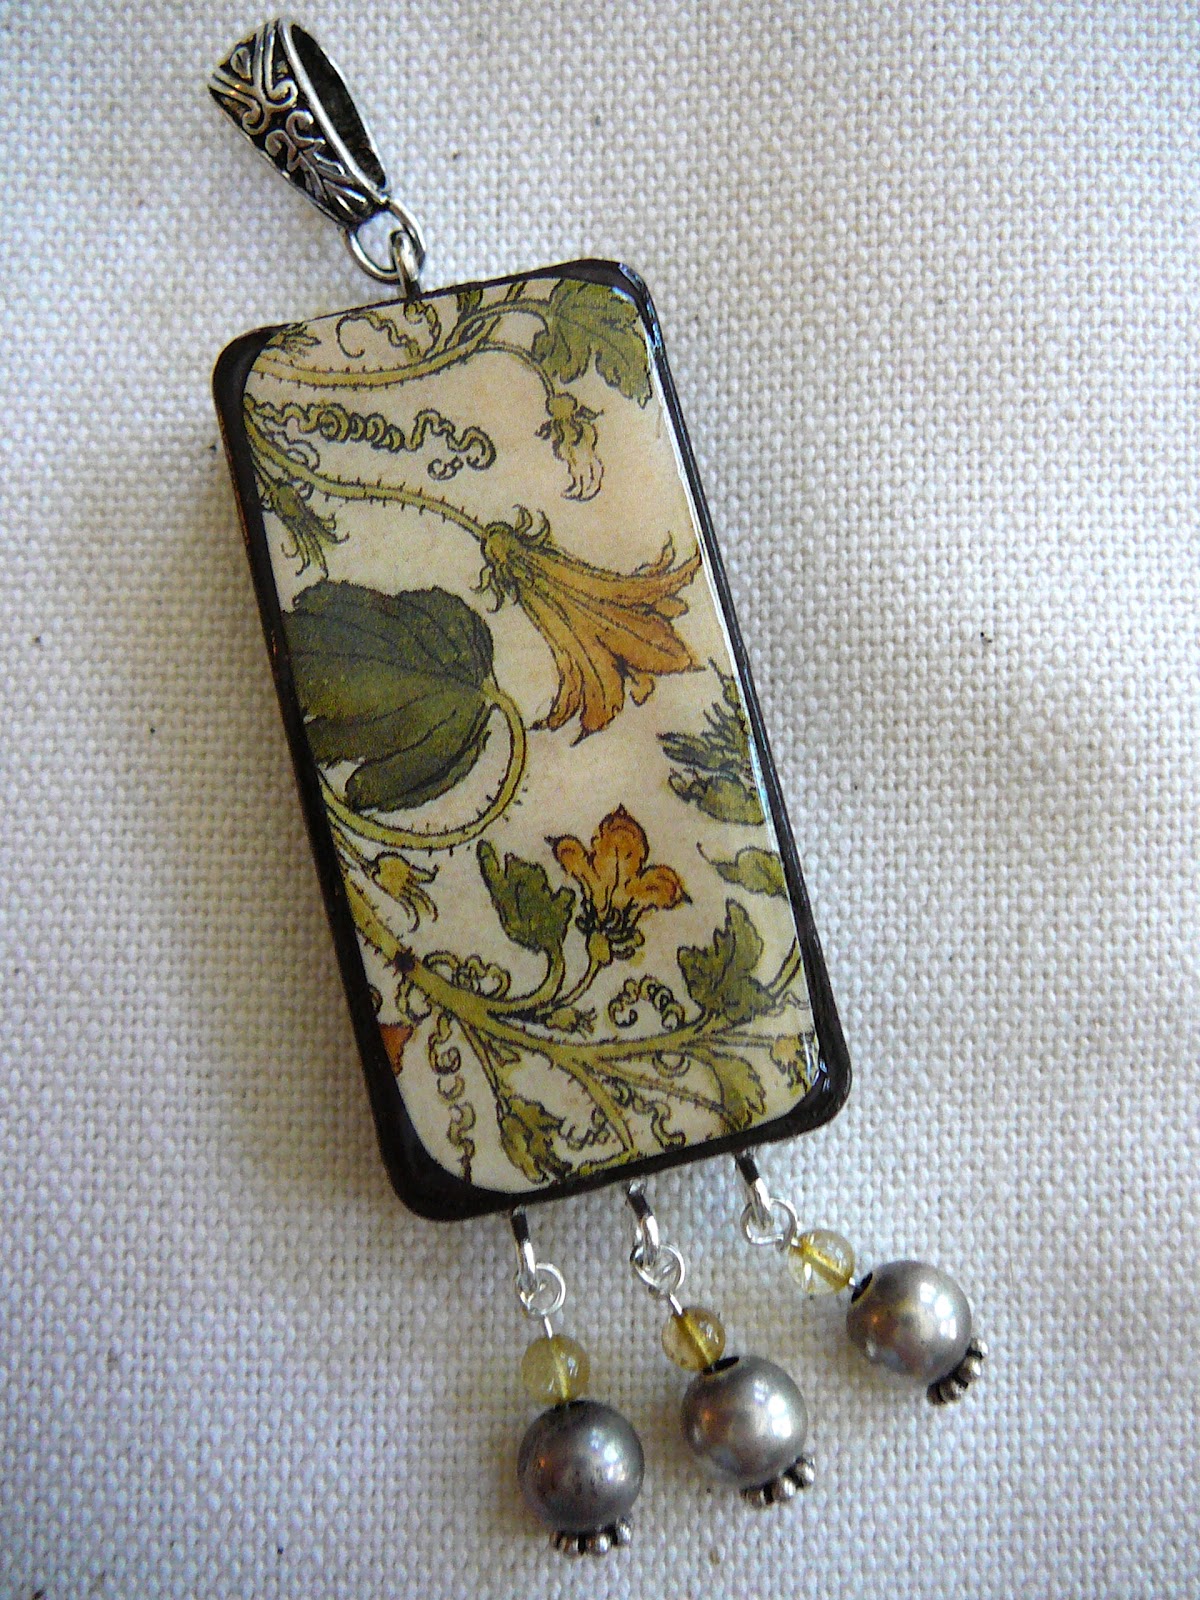
Domino Pendents with Dangling Bits

Over the weekend I completed some more domino pendents. I has rediscovered an old floral art calendar that I just couldn't bear to throw away when the year was over. Some of those calendars have very high quality reproductions so I alway keep them. Same for those little postcard books too. I also thought that I would add some more embellishments in the form of some extra dangling beads. Here are a some of my favorites.


This time I used Diamond Glaze on top of the adhered image and I think I like that product just a little bit better than the dimensional Mod Podge that I used in the last go round. It seemed to dry clearer and more glass-like.

I will be moving this coming weekend and the next so I'll be taking a break from crafting. :(
But after that I'll be in my grand new place and happy to get going on several planned projects. :)

Wednesday, March 21, 2012

LizzieLuvs2Recycle Logo

Ooooo. I'm so excited. I've been steadily selling larger and smaller items from my LizzieLuvs2Recycle shop and I figured it was time to continue to evolve--time for some "branding" if you will. And, this past week I purchased a wee bit of advertising space on an online craft magazine and that prompted me to get my creative juices flowing with regards to a real logo that I can use on all of my correspondence and paperwork and hopefully integrate into the shop website somehow. Thus far I have been including a handwritten note on one of my art note cards thanking people for their purchase and I just felt that I needed to step up the professionalism.

The first step in generating some cool paper goods and packaging was designing an appropriate logo to use. Working with a very helpful and knowledgeable expert with Photoshop, the two of us were able to design a logo and an ad for my shop at etsy.com: (https://www.etsy.com/your/shops/LizzieLuvs2Recycle) this morning in record time.


Here's what we came up with for the logo. Isn't it grand? Its just what I was envisioning, too.


And then we took that logo and did a little addition and manipulation to come up with the ad that I will be submitting to Tru(4)ia Magazine. (I'm not quite sure where the ads are going to appear there, but I'll keep you posted on that.)


They wanted copy that was 3.5" x 2 " which just happens to be the size of a business card, so I think I might just have have some of those made up too.

Serendipity all the way around, no?


Saturday, March 17, 2012

I'm still enjoying t-shirt yarn knitting and wanted to branch out from my semi-circular pattern so after a little pattern research I adapted a pattern more typically used for scrap yarn to make afghans. Once again I used my largest needles (#17) and just started knitting. I really liked how it turned out, I'll likely make another one when I have enough yarn scraps gathered again.


My daughter, Fiona, makes a lovely foot model, doesn't she? She had just the perfect shade of nail polish on her toes, too. Like the other mats that I have been making, the body of the mat is basically garter stitch so it is surprisingly soft and cushy to stand on. Here's a close up:


I have to say, T-shirt yarn is really nice to work with--its soft and has some stretch/give to it. If you haven't tried it, I highly recommend you make some yarn (or buy some on etsy) and give it a go!

On a completely different creative note, I've been dabbling in a little photography as well. Here's my favorite picture of one of my window plants. I shot a bunch of pictures of this bunch and the lighting on this one was the best.


That's all for today. I have some more domino pendents in the works so I hope to get those finished, photographed and posted soon.

Thursday, March 08, 2012

Catching up

So I finally got all of my t shirt tutorial up and posted and was all ready to post about some fun stuff when, zowie my computer went out. Yikes! I felt so lost--couldn't post on my blog, upload new items for sale in my etsy shop, pay bills, check work email--eeek! Luckily, I realized what was happening (power supply cord went bad) so with my computer's last gasp of charge I ordered a new one online. And it just came--hooray!

So what have I been up to??

Well, I've been knitting t-shirt yarn like there's no tomorrow:

Here's a blue one...


And here's one in a warm colorway for my new kitchen.

Recently, a friend asked if I could donate an energy pop top necklace for a silent auction she is helping to organize. Here's what I came up with on that front:


(Can you tell my son loves the green flavor?)

I finally got really really disgusted with my stained ironing board cover so I made a new one. It only took me half an hour or so and I used fabric I already had. So now I'm thinking "what the heck took me so long to do this???"


I also added some additional padding which it sorely needed. Here's a close up of the fabric: very 60's--I love this sort of motif.


And last, but most certainly not least, I've been teaching a couple of lovely ladies how to sew on Sundays. Here are Fiona and Lauren who have both just completed pockets for shorts or apron, respectively.


Stay tuned for the completion of shorts and apron!