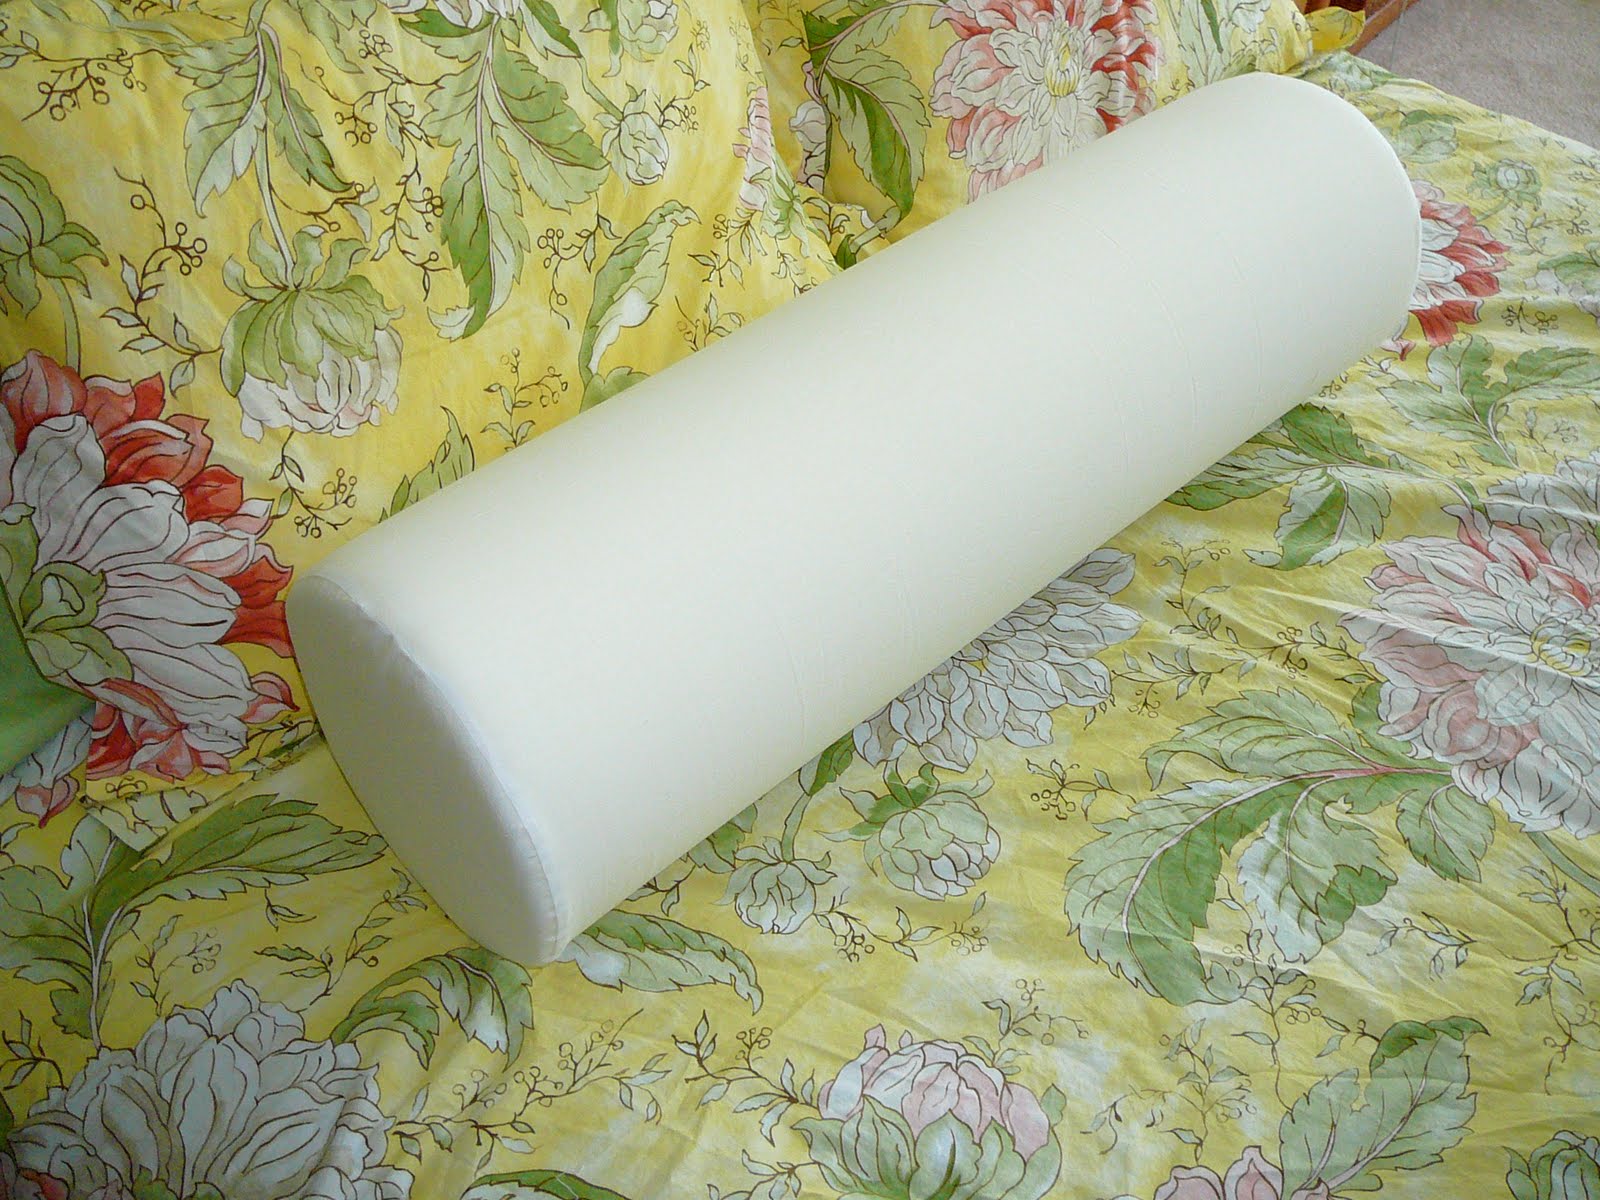
After many moons, I've stepped into my studio again to get a little home decorating sewing done. A couple of weeks ago I made a voyage to our local Ikea (looove that place:
http://www.ikea.com/) and picked up several small odds and ends including a cool cylindrical pillow or bolster. A great shape and, of course being Ikea, a great price. Unfortunately, there was only one pillow case available for it which had drawstring treatments on the ends and was plain white.
Yuck to both! I knew I could do better. First I sewed an inner liner that would permanently cover the foam. It was good practice in dealing with the difficult ends. Circles stretch when you sew them so I ended up fusing some interfacing (Pellon Shir-Tailor, my absolute favorite; its easy to work with and adds just the right amount of stabilization without excess goop that accumulates on your needle)
to stabilize each circle so that I could sew it to the central tube. Worked like a charm and you can see what I ended up with above.
Days were spent going through all of my fabrics. I wanted to coordinate with my new duvet cover and shams from Pottery Barn (
http://www.potterybarn.com/products/laine-organic-duvet-cover-sham/?pkey=cpatterned-duvet-covers-shams) and was having a tough time choosing a single fabric from my stash. Finally I realized I had to piece something together to get the colors and effects I wanted. Here are the fabrics I came up with; each one has a story behind it.

Measurements: the pillow is 31" around. I'll add an inch on both sides and shoot for 33".

And 31.25" wide. I'll add some extra dimension there too.

Before any cutting or even sewing, the first step is always ironing. Like my Tante Elfriede, the seamstress, says: "Gut gebügelt ist halb genäht" which translates as "well ironed is half sewn" or, more loosely: "The iron is the best tailor". Well, she's soooo right.

Next, time to cut some strips. No blocks for this pillow, I decided simple strips would yield a pleasing striped effect.

And here they all are.

A pleasant afternoon was spent sewing the strips together and when they were all attached, I laid the top out on the pillow to get an idea of the final cover.

Hmmm. Not too bad! The pink is a little bright--it should really be a little more in the salmon range. I'll tone that down by using a red thread when I quilt the pink strips. All of the other color strips will be quilted with matching colors. Enough for today! Tomorrow: quilting the top.
 Hello all! I'm finally back in the swing of things so I have several things to post about. Yay!
 As I was browsing the internet this one evening last weekend, I came across Sherri Lynn Wood's awesome tutorial on how to sew curved seams and something just clicked! I cut my long 6 strip wide panel in half, sewed it to itself to make a 12 strip wide piece and then cut it up into gentle curves.